Most people upgrade their coffee in the wrong order. A new machine arrives, the cups are still inconsistent, and the next thought is a better grinder. Meanwhile the scale in the cupboard, the tamper that never quite fits and the cheap needle tool would have improved the next hundred brews more than any new hardware.
This list is deliberately unglamorous. Nothing here replaces your brewer, and none of it needs a specialist shop. Each item fixes a specific problem you can probably name already: soupy pucks, sour shots, milk that refuses to texture, filter coffee that tastes strong one morning and thin the next.
Five tools that help whatever you brew
Start here. These five apply whether you pull espresso, pour over, or press. They are the difference between repeating a result and guessing at it.
- A 0.1 g scale with a timer. Scoops lie; weight doesn't. Weigh the beans going in and the liquid coming out, and you have a ratio you can repeat. A sensible starting point is around 1:16 for filter and roughly 1:2 for espresso, then adjust by taste. Check that the scale is narrow enough to sit under your brewer or on the drip tray, and that it reads while the cup is on it. Tare the cup, not the coffee.
- A dosing cup and a small funnel. Grind into the cup, give the grounds a quick stir, then pour. The funnel keeps the basket and the counter clean, and it costs almost nothing. If you single-dose, the cup also lets you weigh beans first and grind straight into the same vessel.
- An instant-read thermometer. Boiling water is too hot for most filter brews. Let the kettle rest for half a minute or so after it clicks off, and you land in a reasonable range instead of scalding the grounds. For milk, the thermometer matters even more: stop somewhere around 55–60 °C, before the sweetness flattens out. Your hand on the pitcher is not a thermometer.
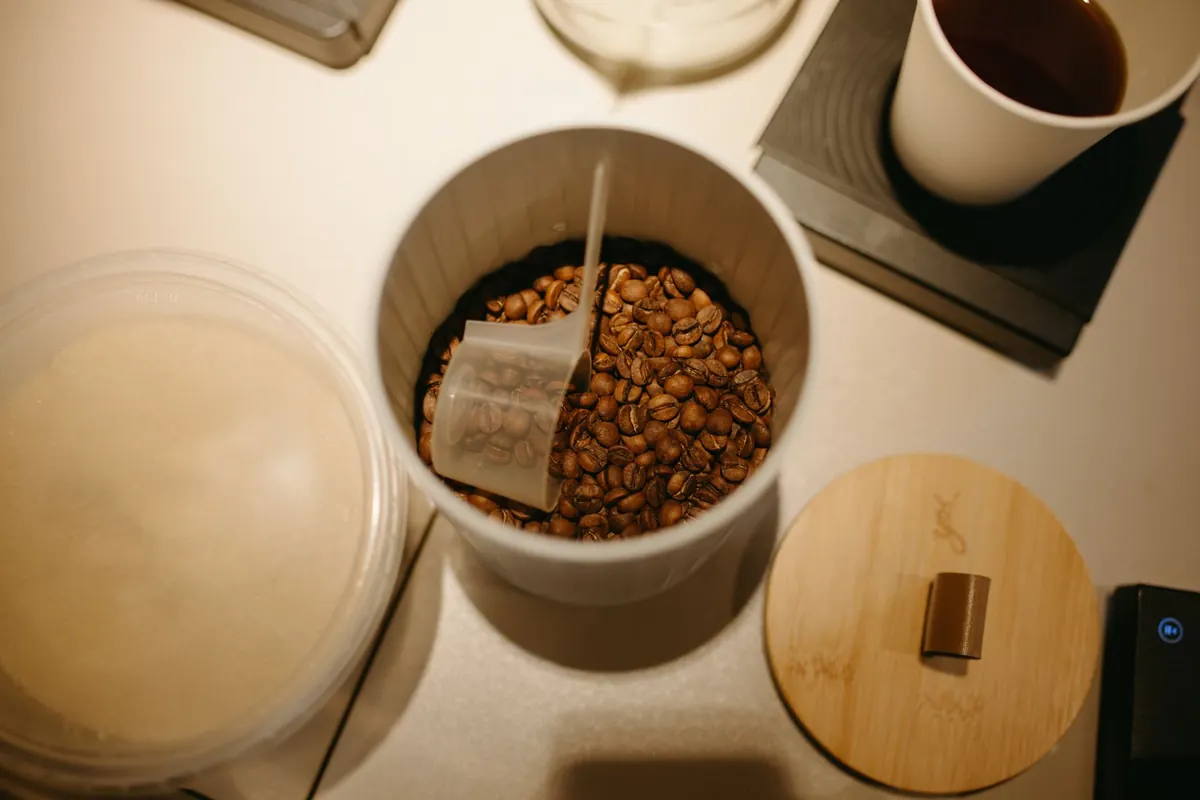
- Storage that keeps beans fresh. Buy small and rebuy often. An airtight container that holds roughly a week of beans beats a large one that holds a month, because every opening exchanges the good gas for oxygen. Keep the bag's one-way valve if it has one, and for longer storage, freeze beans in single-dose portions rather than leaving them in a warm cupboard.
- Cleaning gear, treated as equipment. A stiff brush for the group head, a couple of microfiber cloths, a backflush disc if your machine takes one, and the cleaner and descaler your manual specifies. Old oils on a shower screen taste bitter and rancid, and no dose or grind adjustment will fix that. Cleaning is a consistency tool, not housework.
Five more for espresso and milk
If you pull shots, these fill the gaps the first five leave open. Buy them one at a time and use each for a couple of weeks before adding the next, so you can tell what actually changed.
- A tamper sized to your basket. The base should sit inside the basket with almost no play, and the edges should be flat and clean. A tamper half a millimetre too small leaves a ring of untamped coffee that water finds immediately. Level matters more than force: a straight, level bed at modest pressure beats a hard, crooked press every time.
- A WDT tool. A handle with a few fine needles, used to stir through the grounds in the basket before tamping. It breaks up clumps from the grinder and evens out density, which reduces channeling. Hold the basket over a sink or a cloth the first few times; you will spill a little. Needle thickness matters more than the handle, so don't pay for machining you can't feel.
- A small milk pitcher. Around 350 ml for one drink and 600 ml for two. A large pitcher with a splash of milk in it is genuinely hard to texture, because the steam wand has nothing to work with. Rinse it with cold water the moment you finish pouring, before the milk sets.
- A graduated shot glass or small pitcher. Marked in millilitres, and narrow enough to sit on the scale. It lets you check yield by weight rather than eyeballing the crema, and it catches the spritz when a shot runs badly.
- A knock box, or a good stand-in. A sturdy container with a padded bar across the top keeps wet pucks out of the sink and out of the bin bag. If you'd rather not buy one, a heavy plastic tub and a dowel wrapped in tape does the same job without looking like it.
What to skip until later
Almost every accessory in this niche has a premium version, and most of them are worth owning eventually. The problem is buying them first. A precision basket, a bottomless portafilter, a puck screen, a palm tamper, a tamping station, a distribution tool with a machined base — all of these solve problems you only really have once your dose, grind and technique are repeatable. Put them on the list, not in the basket.
Two more to resist. Bundled "espresso tool sets" usually include one good item and five filler items, and the filler is what you end up storing. And a second grinder before you've learned the first one is a way of avoiding technique, not improving it.
The order to buy them in
If you want a sequence rather than a shopping list, this is the one that pays back fastest:
- Scale with a timer
- Cleaning gear and cloths
- Thermometer
- Dosing cup and funnel
- Storage container, sized to a week
- Tamper that fits the basket
- WDT tool
- Milk pitcher, then shot glass
- Knock box
That order roughly follows the size of the improvement per unit of cost. Spend on the parts that touch coffee and skip the parts that touch the worktop. Set a rule for yourself: no new accessory until the last one has changed how you work. A scale you use every morning is worth more than three tools you admire, and a clean machine with a level bed will out-drink an expensive one that's never been brushed.
One last habit. Write down the numbers when a cup tastes good — dose, yield, time, temperature. The kit above is there to make those numbers repeatable, and a note on your phone is the cheapest accessory of all.
Photo: 琦 刘 / Pexels